


Apr 8, 2025
Unboxing your IQOS ILUMA i
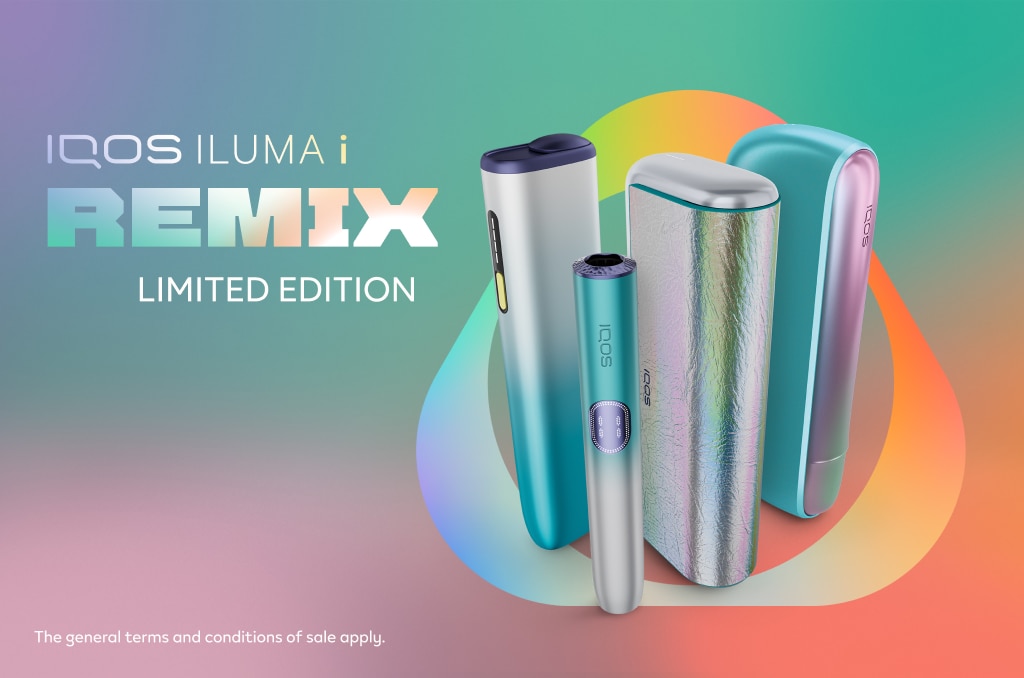
The IQOS ILUMA i is the latest heated tobacco device in the IQOS ILUMA range, designed for a clean and satisfying experience.
In this article, we'll give you an insight into the process of unboxing and setting up your new IQOS ILUMA i. Explore everything you need to know about the device, its key features and how to get started.
What is the IQOS ILUMA i?
The IQOS ILUMA i captures the signature qualities of the IQOS ILUMA series, while taking flexibility and innovation to the next level of heated tobacco enjoyment. Its sleek aluminium body houses a range of advanced features, including a touch screen, Pause mode, FlexBattery and FlexPuff. Each feature of the IQOS ILUMA i creates an effortless and sophisticated heat-not-burn experience.
Curious about what comes with your new IQOS ILUMA i? Let's explore what's included in the box.
What's in the box?
Here's what you can look forward to when unboxing your device:
- Holder: The main component for heating the SMARTCORE STICKS.
- Pocket charger: Used to charge the holder. The pocket charger is portable, so the IQOS ILUMA i holder can be charged anywhere.
- Charging cable: For charging the pocket charger, so that the device can be used on-the-go.
Together, the holder and pocket charger form the core of your IQOS ILUMA i device. The pocket charger powers the holder, which heats the SMARTCORE STICKS without burning them.
How to use the IQOS ILUMA i
Once you've unboxed your IQOS ILUMA i, you're ready to get started. Let's walk through the steps to getting your device up and running.
How to use the device for the first time
Before using your IQOS ILUMA i for the first time, ensure that the pocket charger is fully charged by following the enclosed safety and warning instructions. This initial charge takes about 135 minutes and provides up to 20 uses on a full charge.
From here, you can follow the same process each time you want to use your IQOS ILUMA i.
Before the experience
1. Turn on: Press and hold the pocket charger power button for four seconds, then release. You will see the pocket charger status lights and holder status lights slowly illuminate.
2. Charge the holder: Insert the holder into the pocket charger and close the door to charge it. The holder status light will show the battery charge level.
3. Check the pocket charger status: Press the pocket charger again briefly. The status lights will turn on to indicate the battery level, so you'll know when it's at full charge.
During the experience
1. Insert your SMARTCORE STICK: Once inserted, wait until the holder vibrates
2. AutoStart preheating: The heating process will begin automatically, or you can start it manually by swiping up on the touch screen. The touch screen will display the preheating progress.
3. Begin use: The second vibration indicates that preheating has been completed. This means you can start using your IQOS ILUMA i.
4. Experience the countdown: The light guide around the touch screen indicates the time you have left of your experience.
5. Use Pause mode and FlexPuff: Take advantage of the advanced features offered by the IQOS ILUMA i. The touch screen shows Pause mode availability, and FlexPuff automatically adjusts to your usage patterns.
6. Nearly complete: The holder will vibrate to signal the last 30 seconds or two puffs of the experience. The display will darken when the session time is over.
To end the experience
1. Remove SMARTCORE STICK: Take out the SMARTCORE STICK as per the safety warnings and instructions.
2. Recharge holder: Insert the holder back into the pocket charger to recharge for your next experience.
If you want to adjust any of your IQOS ILUMA i settings, just visit the IQOS app to customise your experience. (hyperlink)
You are now ready to experience the technology behind the IQOS ILUMA i.
Do not ingest or disassemble SMARTCORE STICKS™. This product contains a sharp metal part which can cause serious injury if swallowed. Keep out of reach of children. See important information.
This article is for general information and educational purposes. Some of the information in this article is based on external, third-party sources. We make no representations or warranties of any kind regarding the accuracy, validity or completeness of such information.